The idea:
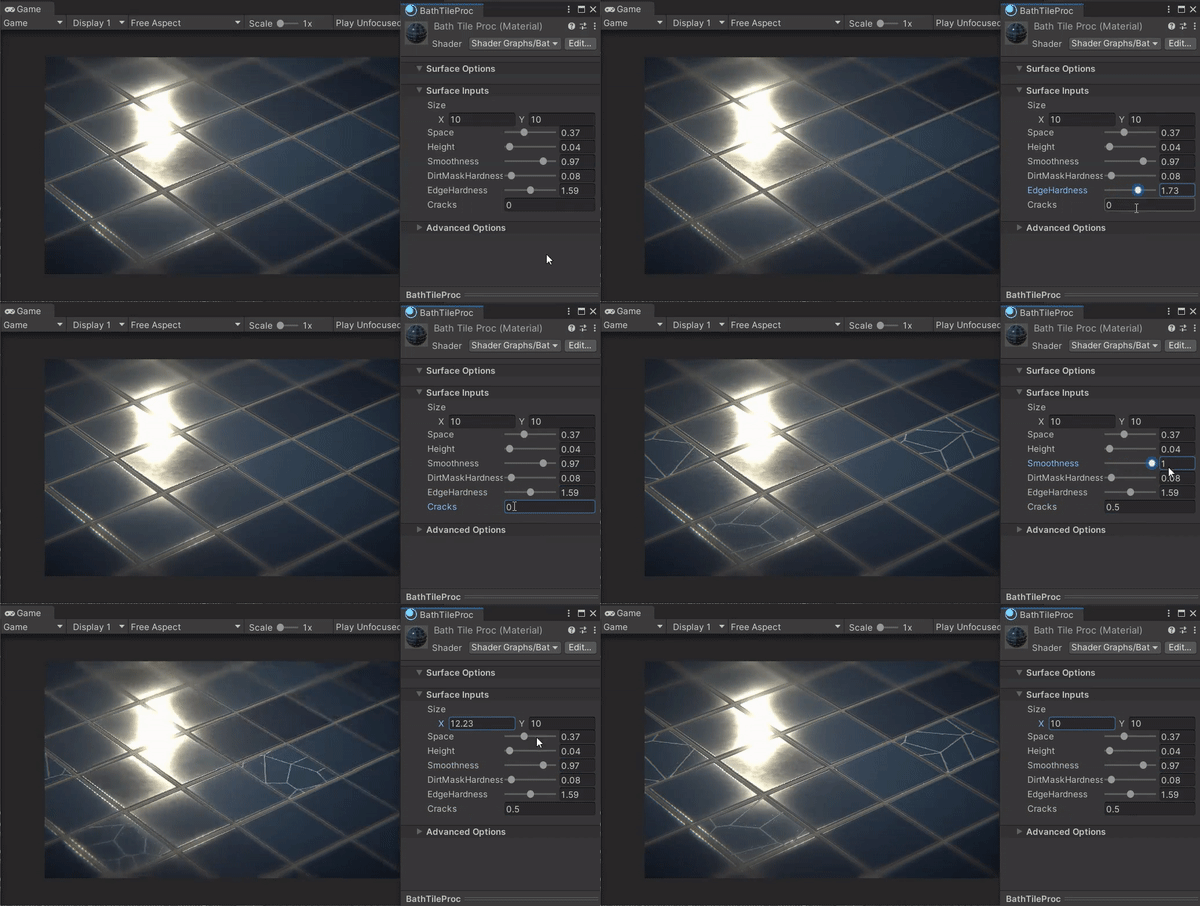
Design procedural shaders in ShaderGraph and bake them into textures to use in lightweight shaders. 
ShaderGraph is a tool for creating node base shaders in Unity. We have too many nodes to mix and create amazing shaders (just like Substance Designer) or even make our own custom nodes to implement new functionalities. What if we use these awesome resources of nodes to bake textures?
Pros:
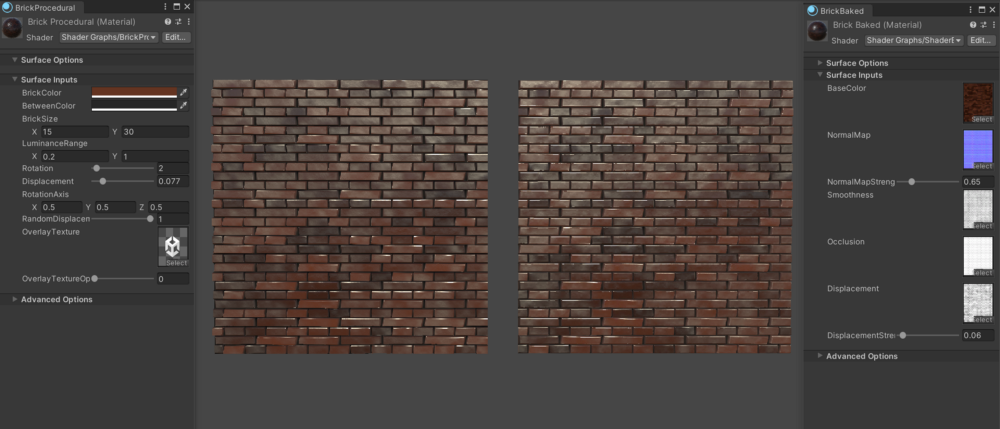
- We can have a very complex and heavy shader and bake the results into separate textures for Color, Normal, Height, etc. and use a lightweight shader to only sample these textures.
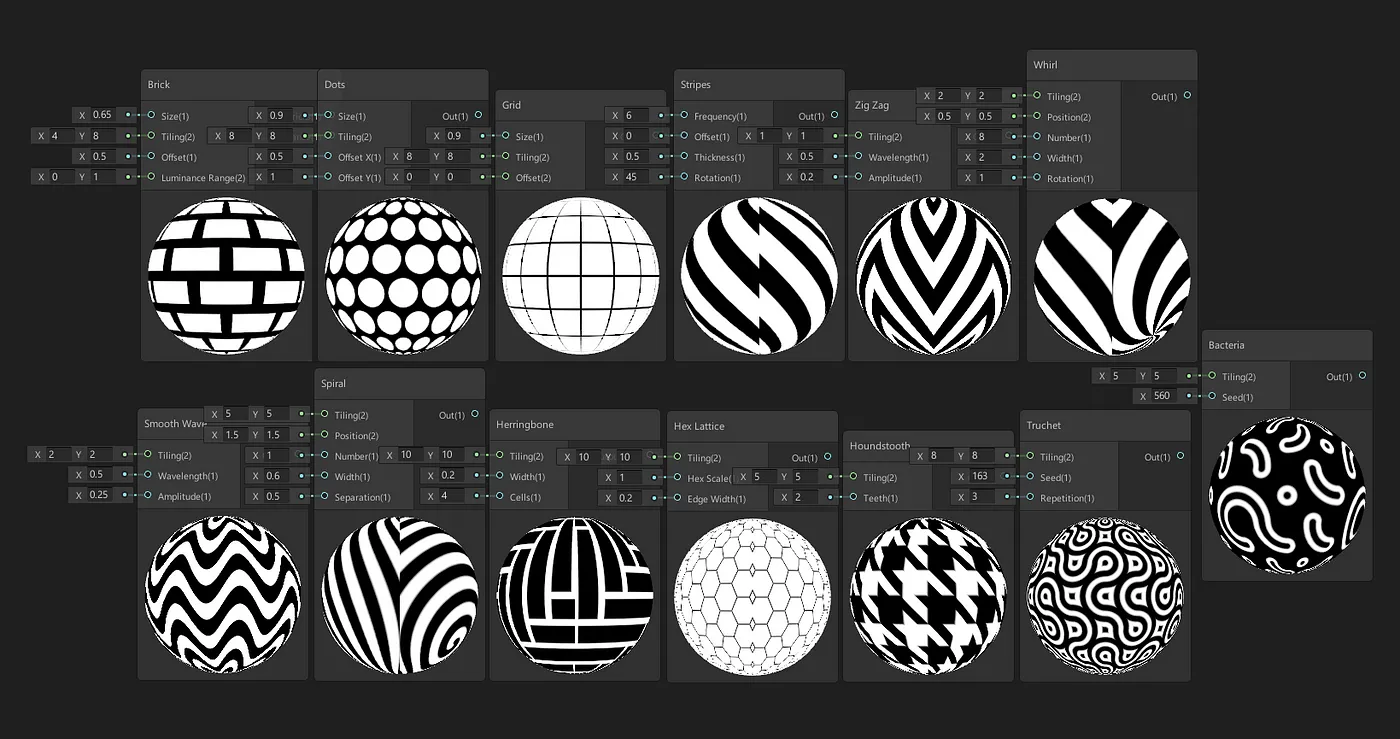
- Many nodes are available, and there are even more samples here to make complex textures like the way we do in substance designer or Blender.
![node samples]()
- Can make our own nodes if there is not a node available.
Cons:
- It cannot be used for animated shaders. (however, it’s possible to bake into a texture array instead of a single texture!)
- Although there are many nodes available, compared to substance designer with a huge library of nodes, it takes more time to have a rich library of custom nodes.
Implementation:
I have a shader with different slots like color, normal, etc. Following this amazing tutorial by Ronja, I can bake from materials into textures using Graphics.Blit() function. So In order to bake shaders, we can simply create a material using that shader in code and bake the result using that material. BUT what about different maps?
Graphics.Blit() can get a parameter called “pass” to only render the desired pass. I could find the pass index for normal (pass 4), but I could not find passes for other maps. So I have to come up with another way.
If I can parse shader graph files and swap final nodes that goes to different surface and vertex nodes of the shader, connect them to the base color and do the rendering, I can get all available maps!
So let’s modify a shadergraph file on the fly. After analyzing the shadergraph source, it seems that we don’t have access to shadergraph API to create new nodes or connections between nodes. Most of the classes are internal to their own namespace. But the good news is that shader graph files are stored as multiple JSONs in a single file. So I have to write my own shadergraph parser to read the source shader, find different nodes I want, swap them, remove nodes or edges, or create new edges between nodes and write back the JSON into a temporary file with “.shadergraph” format, make a material using that shader, render the results and remove the temp shader.
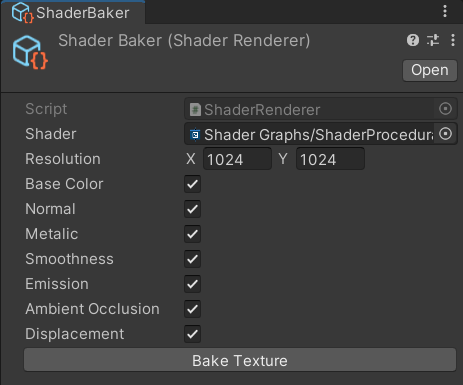
The easiest way for me to have a custom editor is to have a scriptable object and a button using NaughtyAttributes to execute functions in the editor. I can write a better custom editor later :) So here is the basic Interface:
Yet another problem:
Normal maps are much darker when I bake them. “WHY?” I asked. I posted this question in Unity’s forum but did not receive any good answers.
Let’s learn more about what happens when we do sample a normal map in a shader. Normal map textures are stored in the RGB range (0,1), and when we use them in a shadergraph, the data needs to be converted into vector space(-1,1). You can check this answer for more info.
So I have to reverse that pipeline to convert from vector range to RGB range ((-1,1) to (0,1)) to have the correct normal map and save it. After converting back to the RGB range, the results are not the same as the original Normal texture I used. It was a little brighter. Which means I have another challenge!
It took more than a week to figure this one out! The calculation is correct, but when I save the texture, the default render texture I use is sRGB, and my existing normal map is in Linear format. I suddenly remembered that recently, I had an interview with SpashDamage. During the interview, they asked, “When do we use sRGB, and when do we use Linear?” and I did not know the answer! (And I did not get the job!) And the problem is exactly because of this lack of knowledge! I need to store baked normal texture in Linear instead of sRGB. And now, after doing so, everything works fine!
Note:
Sampling a texture is not always the cheapest method, and using this tool is recommended when we have a really heavy shader that does lots of instructions and baking will give you better performance or when you just want to play around and create procedural textures.
Try it yourself
The early version is available here.


